Installing a cistern - what you need to know
You have decided in favour of a rainwater harvesting system and now want to install the cistern. This raises the question of what needs to be considered during installation to ensure that the cistern fulfils its function properly and whether you need a permit to install the cistern. We have summarised the most important points for you in the following article.
Can I install the cistern myself?
You can install your cistern yourself, especially for smaller systems that are only intended for garden irrigation, for example, as long as you are a bit of a handyman. For larger systems or if the rainwater is to be used in the household, it is usually advisable to have this work carried out by a specialist. For example, a local building or civil engineering contractor or a garden and landscaping contractor can be considered. This will ensure that the cistern is installed correctly and in accordance with standards. A plumber who then installs the pumps and system technology will support you in the needs-based planning and construction of your cistern or the entire rainwater utilisation system.
What is involved in preparation and planning?
Choosing the right cistern
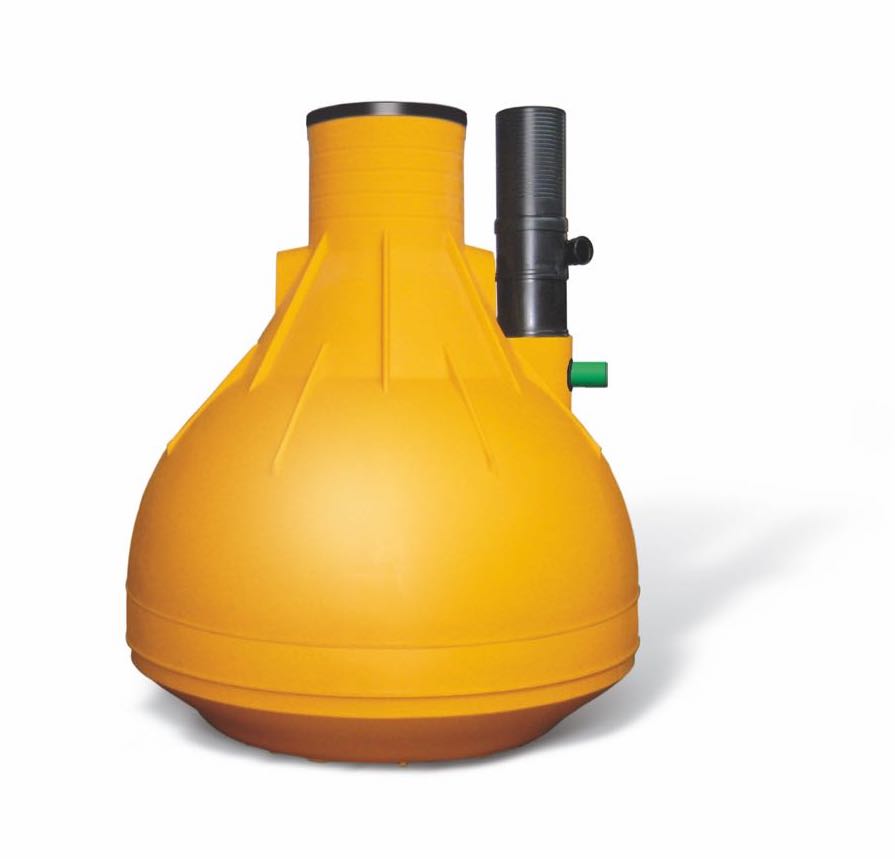
Before you install your cistern correctly, you must first select a suitable one. Cisterns differ both in terms of their design and the material used. They come in all shapes and sizes: From 1,000 litres to 65,000 litres, as a flat tank or round underground tank, in a complete rainwater set or individually, as a steel, concrete or plastic cistern. Our article "Cisterns for using rainwater" provides more information about the different types of cisterns.
Theshape and material of the cistern are primarily determined by the requirements and local conditions. In addition to the accessibility, the available space and the desired connection direction, the existing groundwater level is also an important factor in selecting the right cistern.
Accessibility and driveability
You should think in advance about where the cistern is to be placed. If only people enter the area of the installed cistern - such as in your garden - a walk-in cistern is perfectly adequate. However, if the cistern is to be installed in an area with heavy traffic, it should, according to the manufacturer's specifications, be designed for a load from cars or even lorries, as required, and be installed professionally.
Calculate cistern size
To select the right cistern, you need to determine the required size of your cistern. You can find instructions for determining rainwater yield and requirements in our article "Calculating cistern size".
Register the cistern with the authorities
"Do I have to register my cistern? Does my rainwater tank require authorisation?" To clarify these questions, you should check whether you need a permit before installing your cistern. To do this, simply ask your local council about the local rules and regulations. As these can vary depending on the location, it is not possible to make a generalised statement on this.
As a rule, however, rainwater cisterns for pure garden irrigation do not require a permit in Germany, unless they fulfil a public function such as water retention. Smaller cisterns only need to be registered with the relevant water authority. However, you must ensure yourself that a clear separation between drinking water pipes and service water pipes is required when using rainwater in the house. Depending on local regulations, registration with the local health authority may be required.
The exact requirements and procedures vary from municipality to municipality and should therefore be discussed locally. However, even if you do not have to register in most cases, it may be worth contacting the local authority - many towns and municipalities now support the use of cisterns, for example by exempting you from rainwater charges or subsidising cisterns.
How do I choose the right location?
It is crucial to choose the installation location of the cistern carefully according to the local conditions. The water pipes between the cistern and the downpipe should be laid along the shortest possible route, although a certain distance from buildings must be maintained. In addition, the ground must be stable enough to support the weight of the cistern for many years without subsidence. Regardless of whether you have opted for a plastic cistern or a concrete cistern, the groundwater level must also be taken into account.
Distance to buildings
The cistern should be a certain distance from your house, which must be taken into account during planning. This is the only way to ensure a secure connection of the cistern. As a rule of thumb, the minimum distance to buildings should be approximately the width of the tank. If the cistern is installed on a slope, check whether a retaining wall should be built between the slope and the cistern to protect the cistern from the pressure of the slope.
Note the groundwater level
The groundwater level is an important point to consider when installing the cistern in the ground. The illustration clearly shows that the groundwater level is below the rainwater storage tank. If the water level rises, buoyancy is created, as with a floating body. In the worst case scenario, the cistern can float or a plastic cistern can be pushed in from below.
However, if you have a higher groundwater level, this does not rule out the installation of a cistern. There are various solutions for this: Firstly, you can opt for a concrete cistern instead of plastic, as concrete can withstand the pressure of the groundwater. However, it must be ensured that the empty cistern and the earth on top of it are heavier than the buoyancy force of the water. Alternatively, it is possible to pour a solid concrete base plate on the ground and securely brace the storage tank with steel straps. Another alternative are tanks that are built to stand even in groundwater.
Maintain a pipe gradient of 1
The pipework from the downpipe to your cistern must always have a gradient of at least 1% so that the rainwater can flow on its own due to gravity. The greater the distance to the building, the deeper your cistern must be installed. A gradient of 1 % means that the installation depth is reduced by 10 cm for a pipe length of 10 metres. This must be taken into account, especially if the groundwater level is high.
Determine the connection direction for the cistern
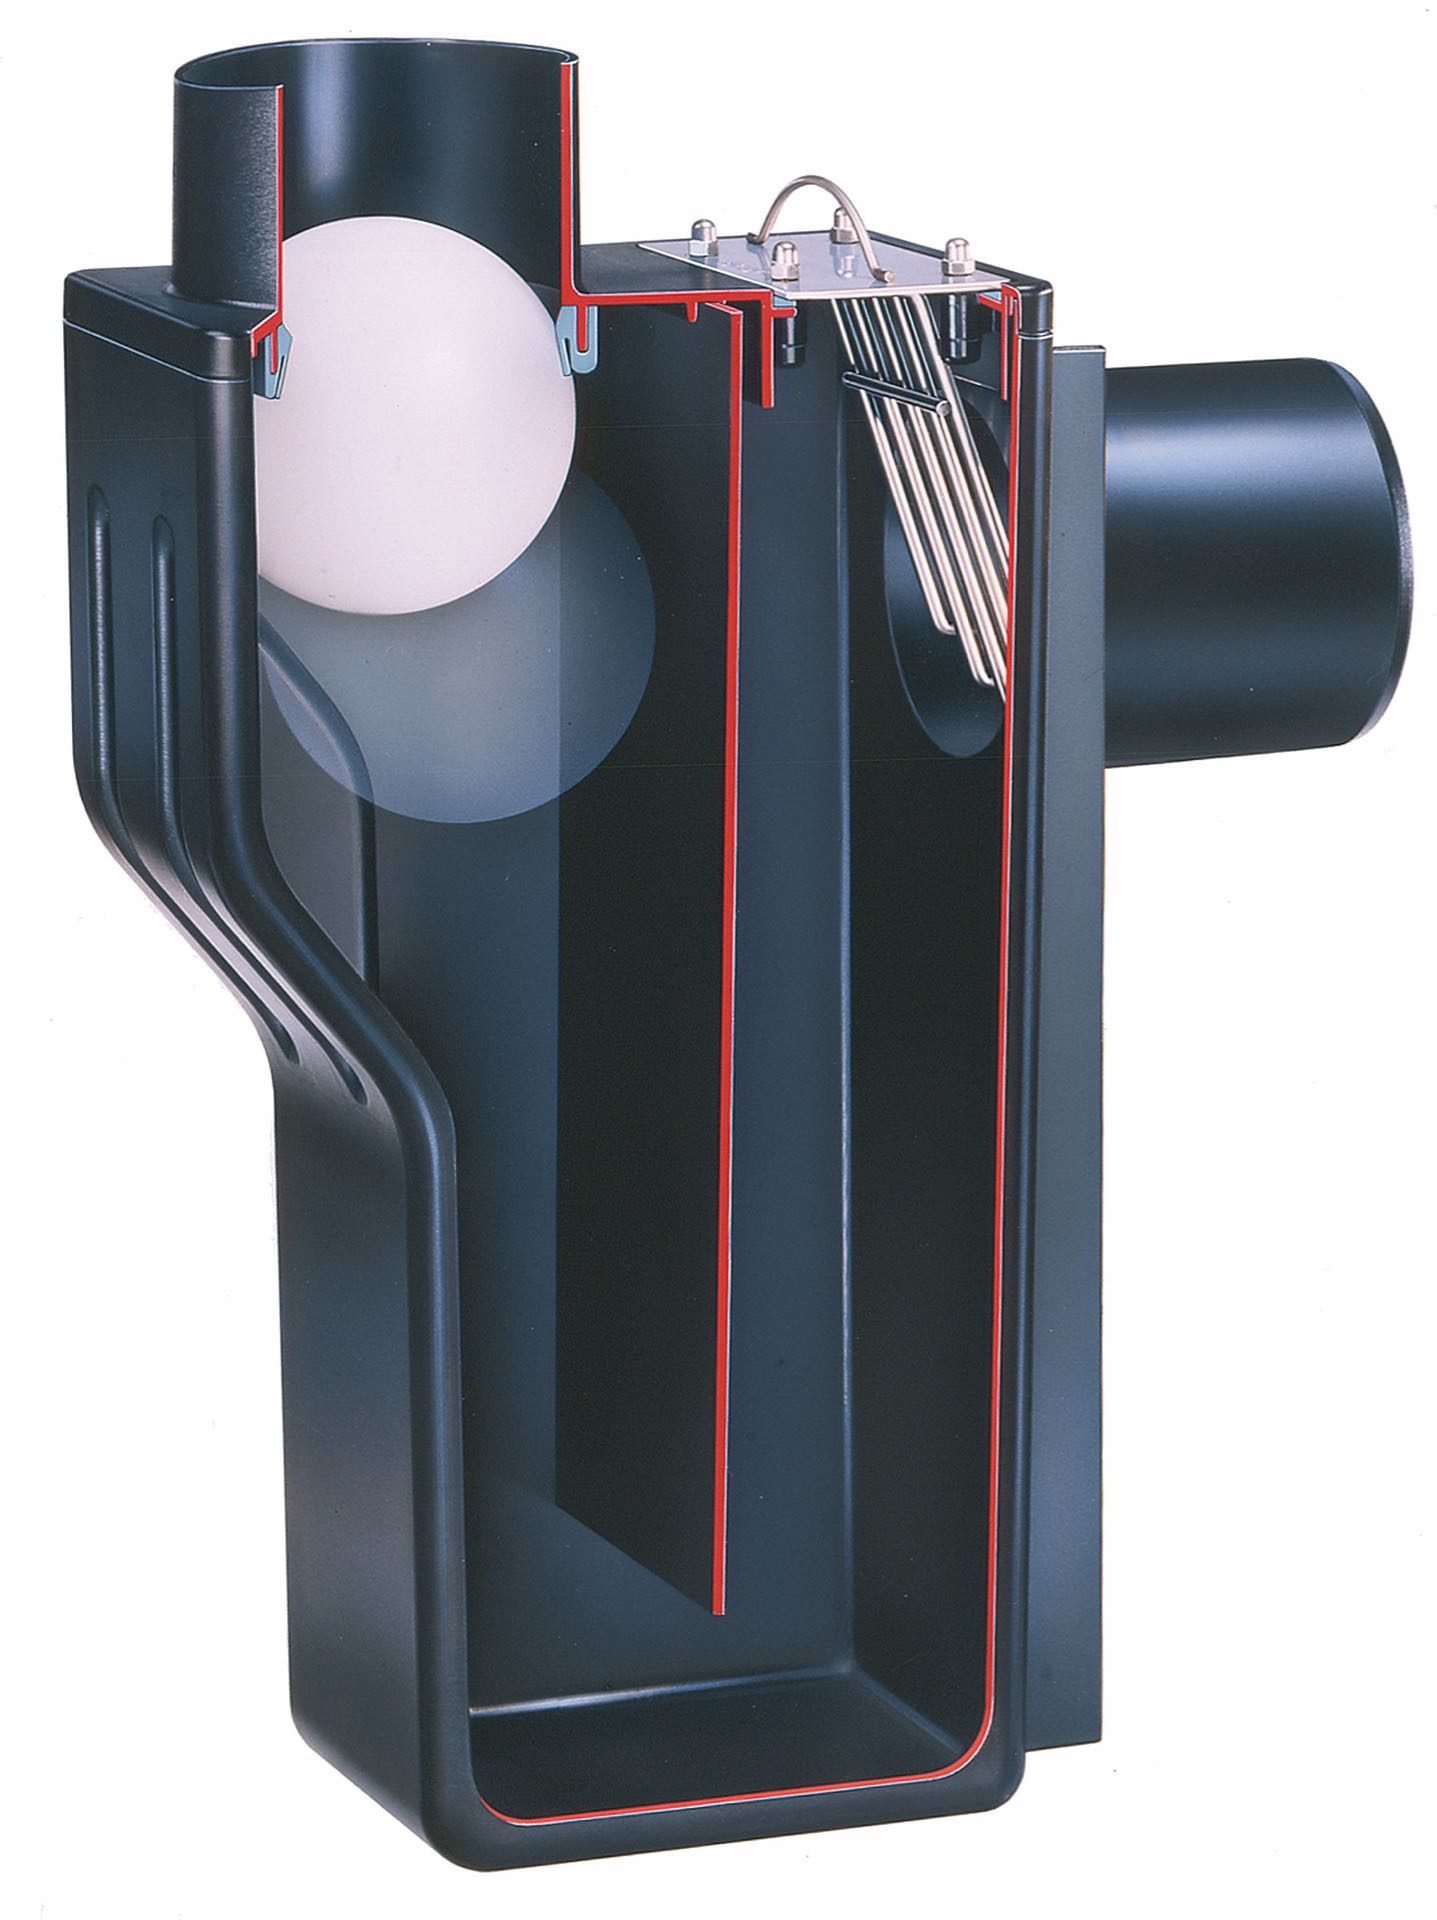
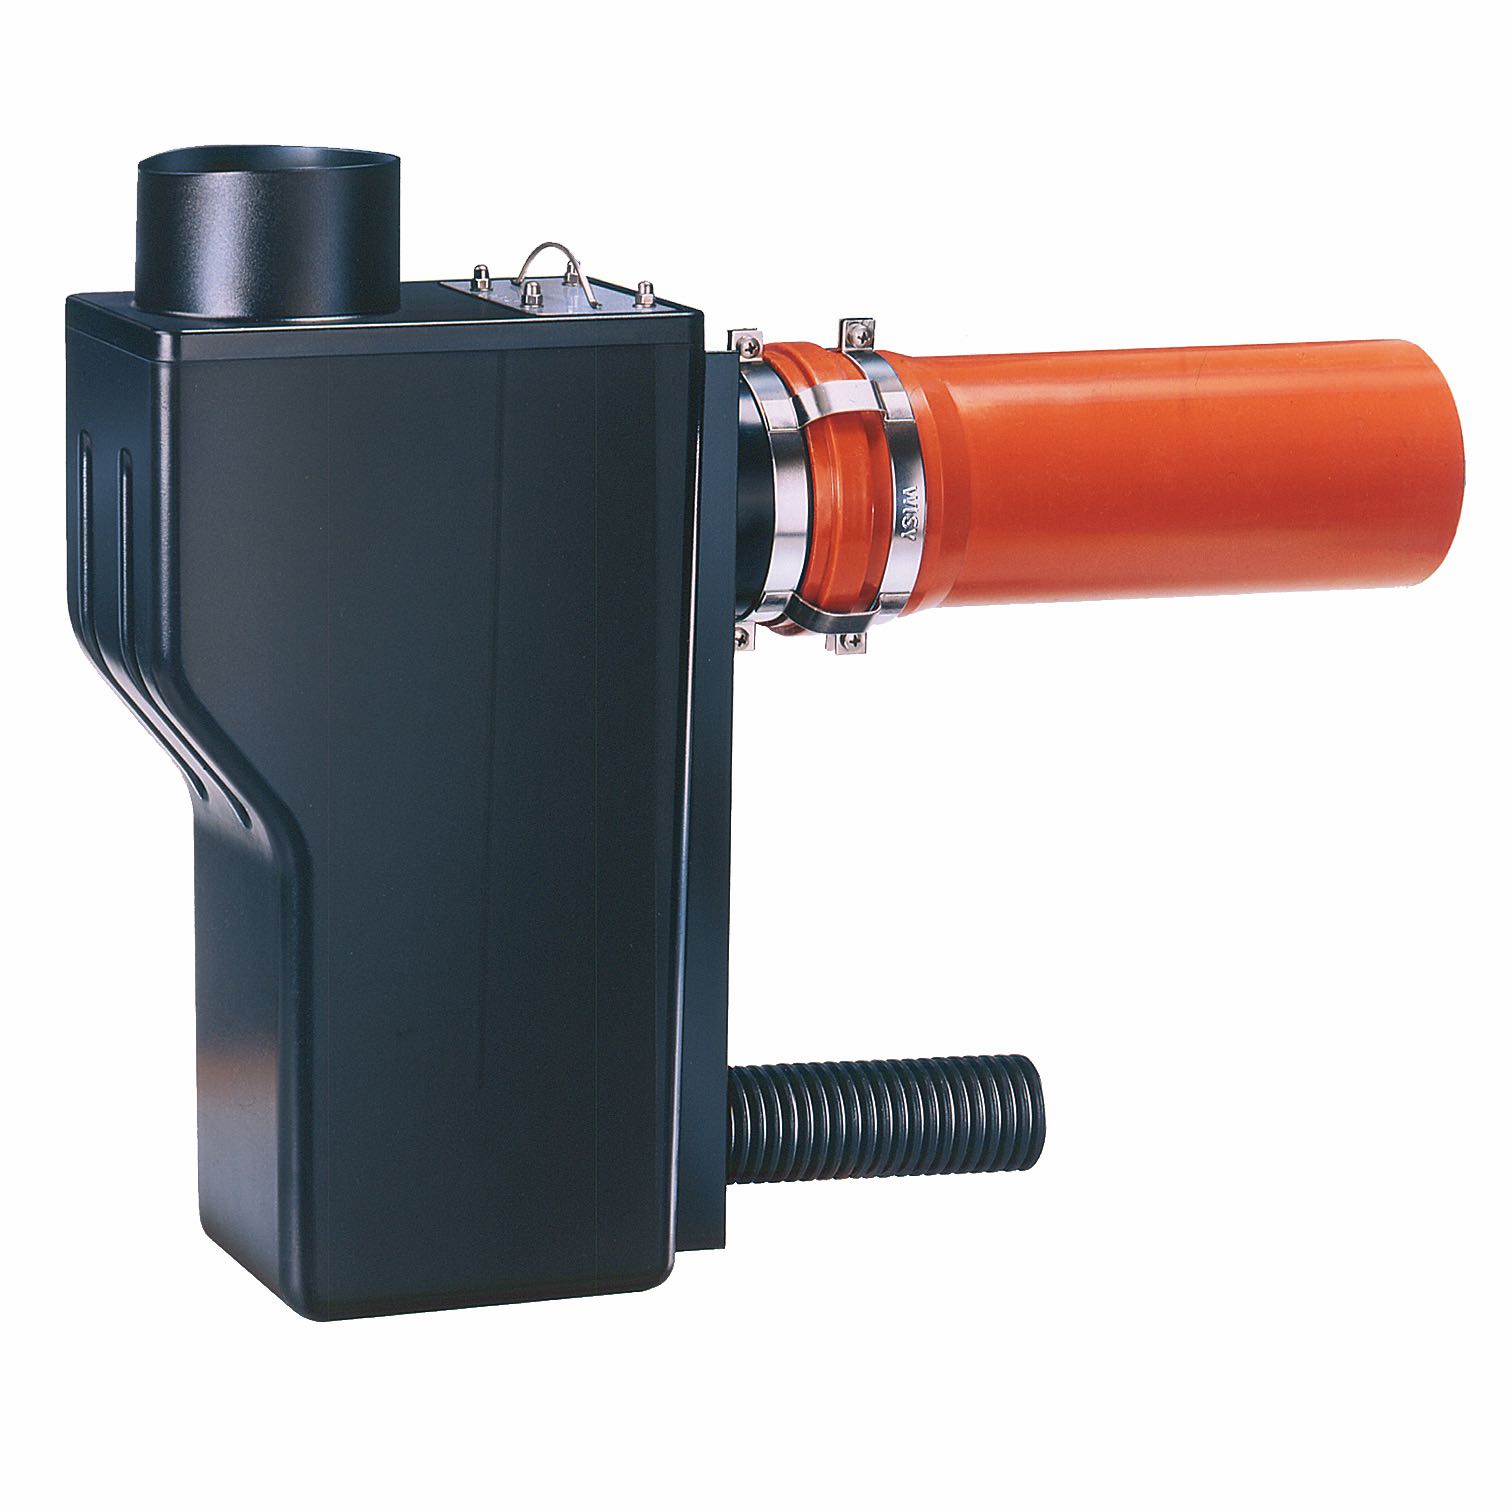
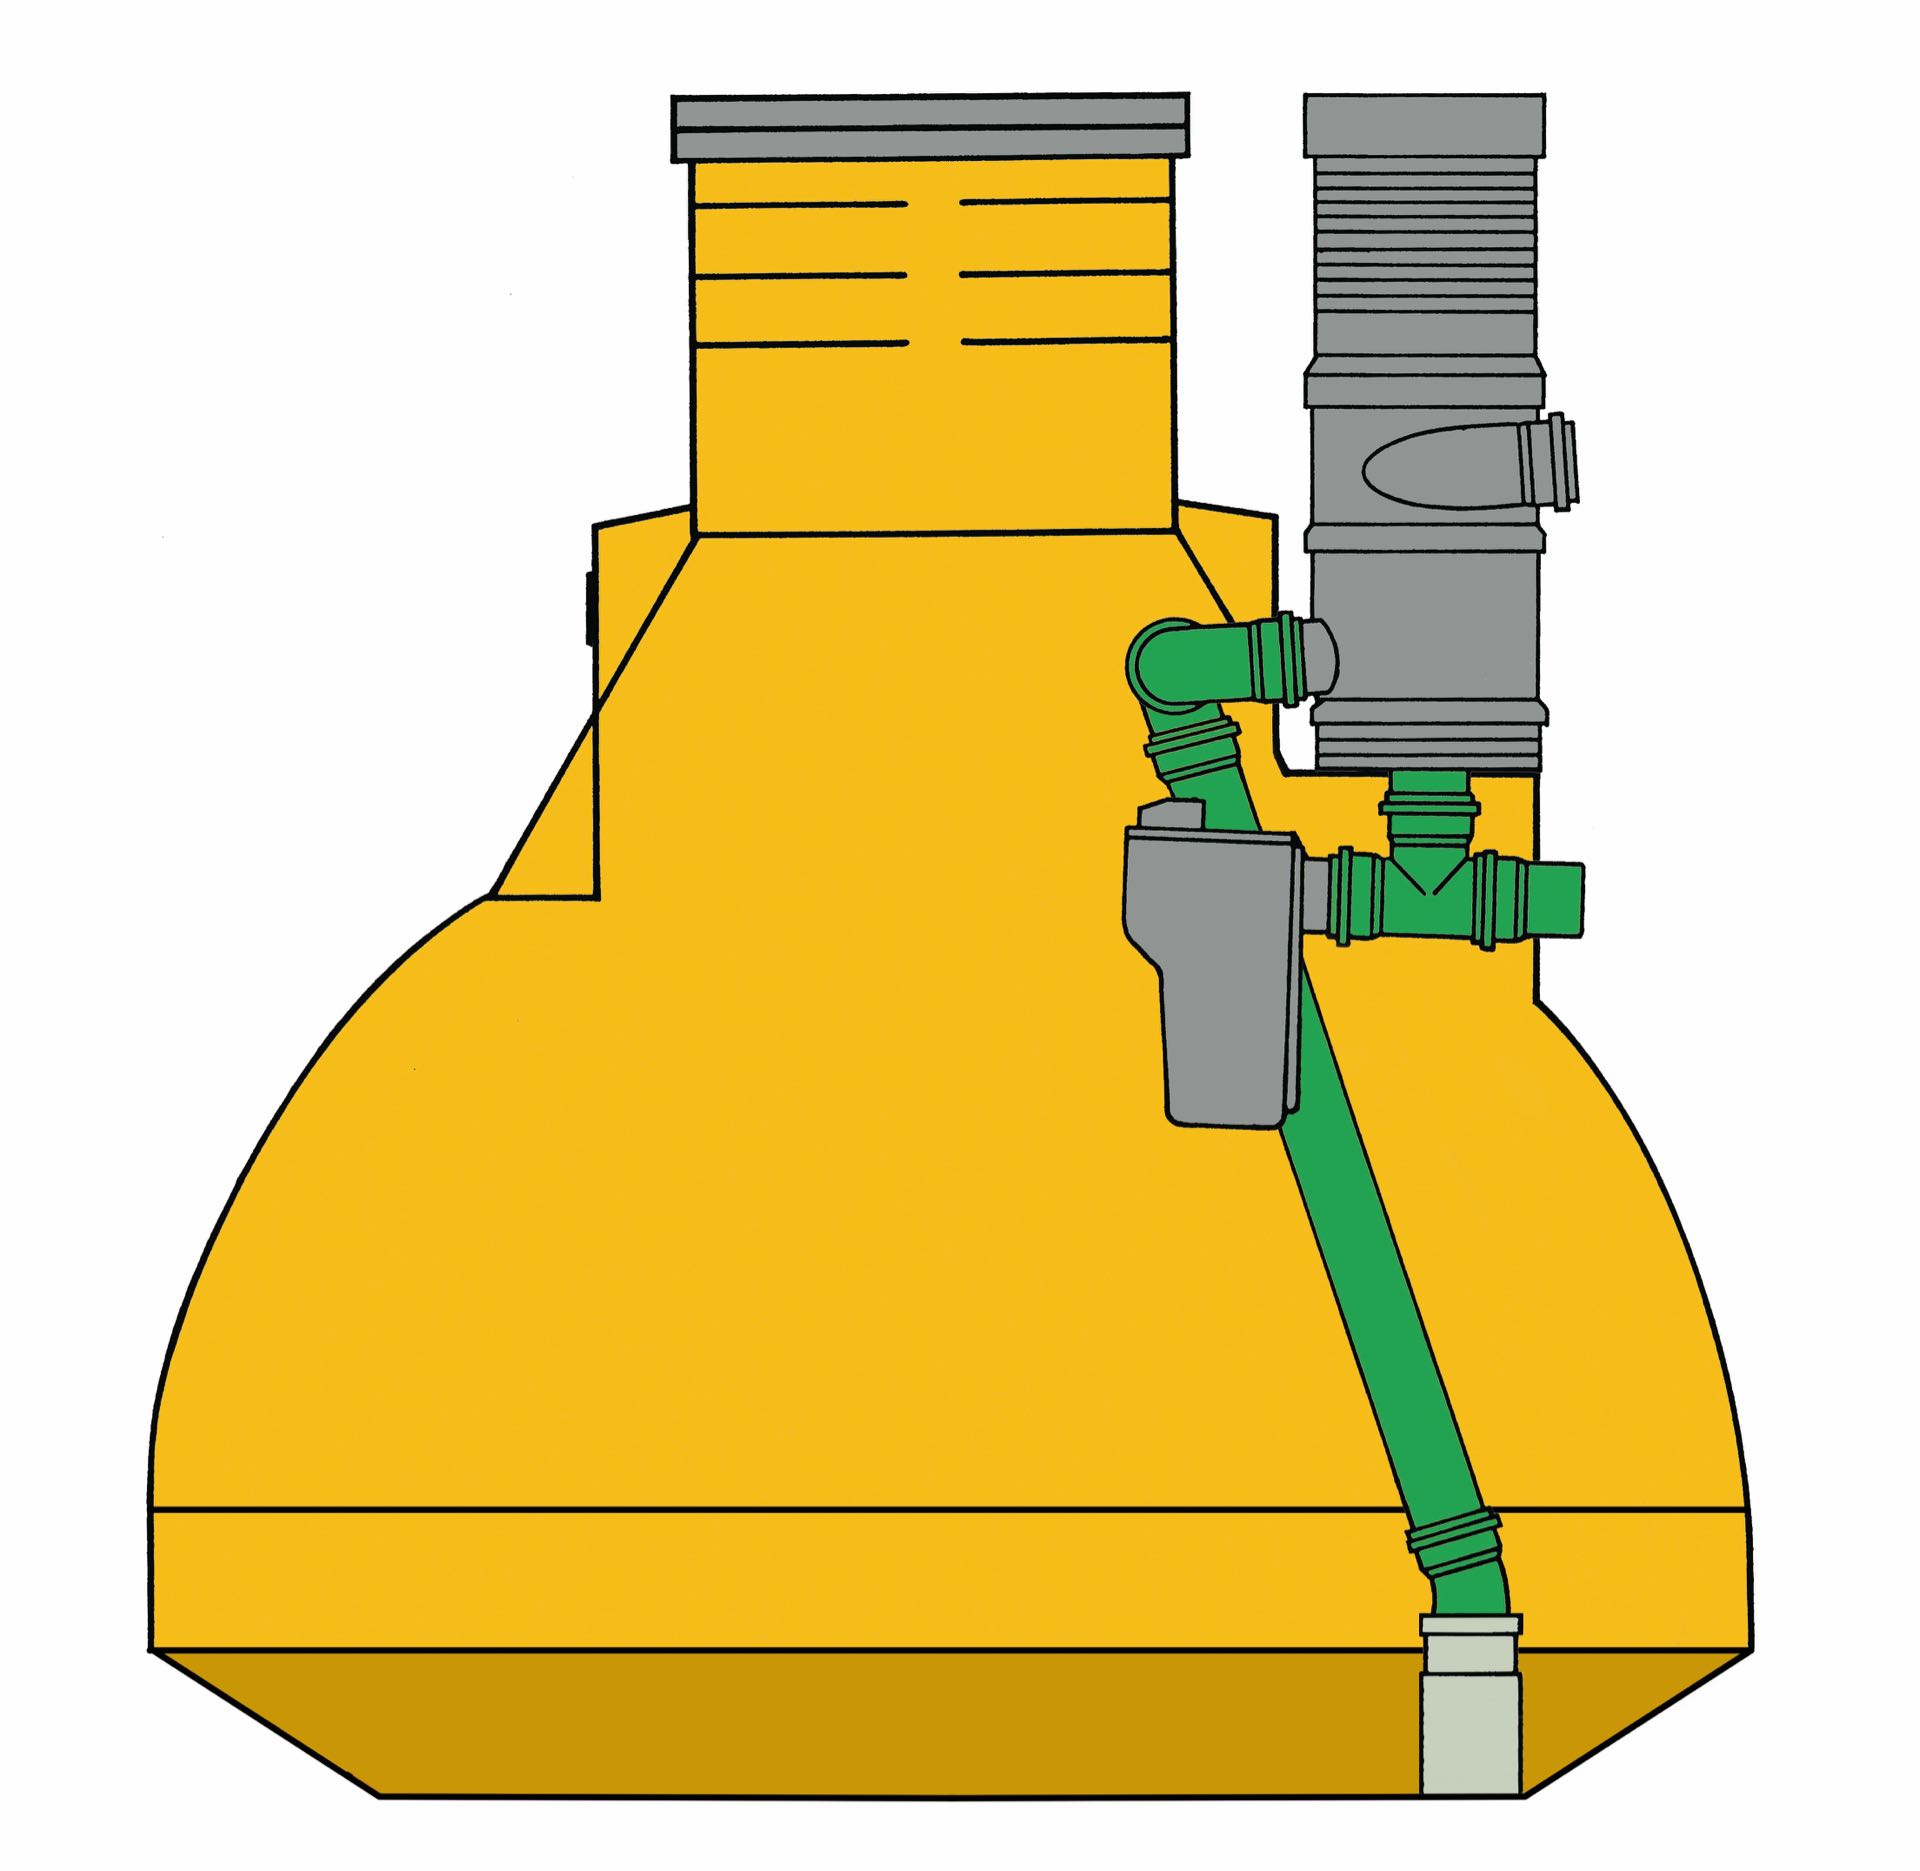
When planning the installation of a cistern, it is important to determine the correct connection direction for the cistern in advance. You should already plan the inlet and outlet pipes for the cistern overflow in detail. Many rainwater cisterns are equipped as standard with three connections for the inlet and the technical pipe (the two upper connections) as well as a deeper hole for the device for overflowing the cistern. If the WISY overflow siphon is used for the cistern overflow , backflow protection and protection against small animals are integrated. The exact positions of the connections are available in the technical data sheet for the respective cistern.
Installing a cistern in the ground in 7 steps
Step 1: Delivery of the cistern
The planning is complete and you now want to install your rainwater cistern. Bear in mind that although most manufacturers deliver the cistern to your home, plastic cisterns are often delivered without unloading. This means that you will need suitable loading equipment on site. This can be a mini excavator, wheel loader or forklift truck, or 2 - 4 strong people for smaller plastic cisterns. This is therefore particularly relevant if you are installing your cistern yourself. Concrete cisterns are often placed directly into the prepared excavation pit from the lorry. Talk to the dealer about this. If you purchase the concrete cistern from the civil engineer, he will also take care of transport and installation.
Step 2: Digging the pit for the cistern
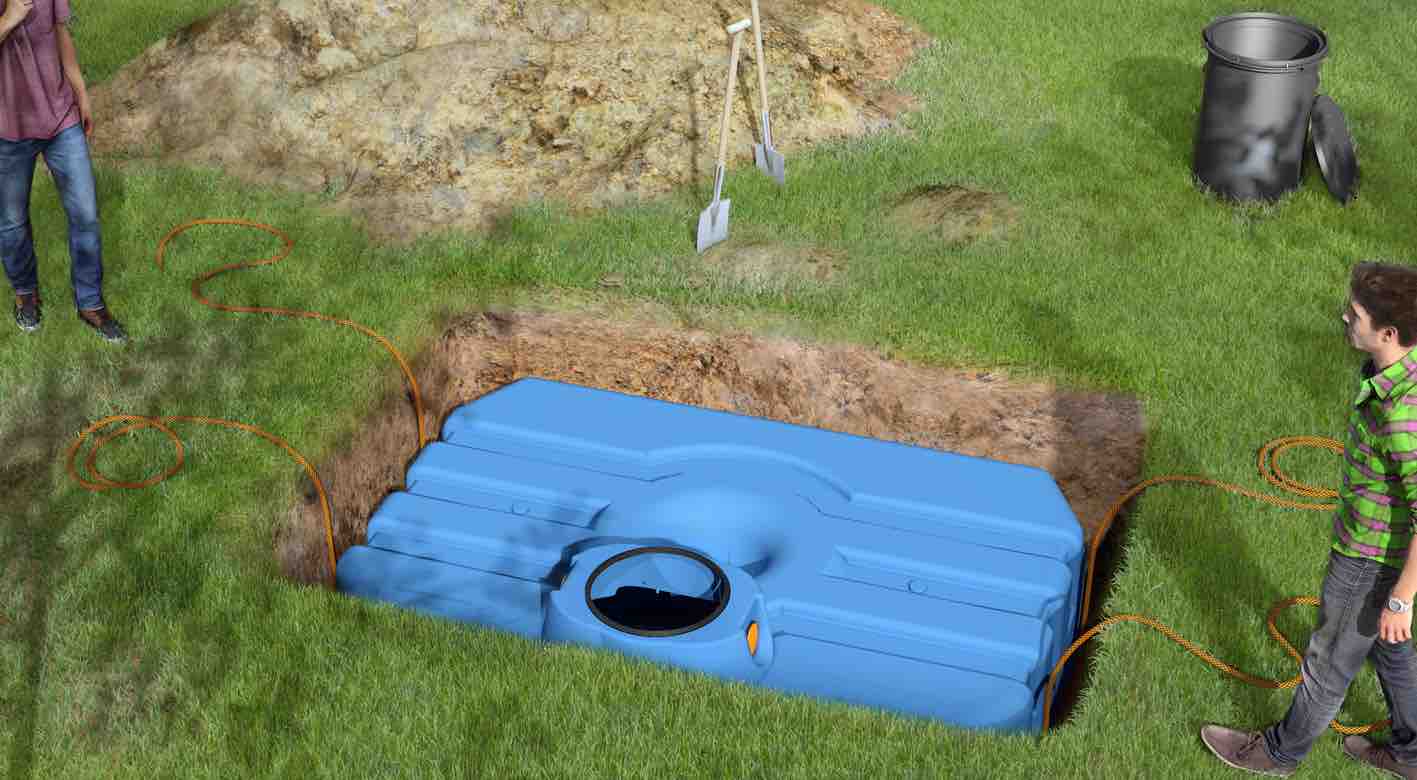
In order to place the cistern in the ground, an appropriately sized pit must be dug at the installation site. While this may still be possible by hand for smaller cisterns, a (mini) excavator should be used for larger cisterns. This will also help you to install the cistern. Pay attention to the minimum distance to buildings and a sufficiently large installation depth or cover to ensure protection against frost. In addition, the substrate should be stabilised and a base layer - usually made of gravel - should be laid. The easiest way to do this is to follow the manufacturer's instructions and do not deviate from them.
Step 3: Inserting the plastic cistern
The cistern can now be placed in the pit. Smaller plastic water cisterns can be lowered into the pit by two or four people with the help of two ropes that are passed under the cistern. Larger cisterns or concrete cisterns are installed with the help of an excavator or directly from the delivery vehicle. The eyelets required for attaching the suspension cables are already provided on the tank by most manufacturers.
Step 4: Install and connect the filter and pump in the cistern
Unless you have opted for a complete cistern set that is ready for connection, it is now time for the installation work inside the tank. The internal pipes are installed, as are the calmed inlet, the overflow siphon and, if required, the make-up line or other system technology. Internal rainwater filters are now installed. If you are using the vortex fine filter, this is placed outside the cistern and only installed together with the pipework in step 6 .
The pump is now also installed in the cistern. If you have a pump, e.g. for garden irrigation such as the Beta submersible garden pump, the pump is installed directly in the cistern. Self-priming pumps such as the AspriPlus suction and pressure pump, on the other hand, are placed outside the cistern in the building. When commissioning, make sure that the pump and pipework are vented. You can find out how this works here.
Step 5: Backfilling up to the pipe connections
Before filling the excavation pit with gravel, plastic cisterns must be filled with water in stages. Please refer to the manufacturer's instructions for the exact procedure. This achieves the required stability and prevents deformation of the cistern. The gravel is backfilled in layers up to the pipe connections.
Step 6: Lay pipe connections and technical lines
In the next step, the corresponding pipes for the rainwater inlet and sewer outlet are connected to the cistern. Cables and technical lines should be laid in an empty conduit. The empty conduit should be inserted into the building in a watertight manner, e.g. using a WISY wall duct .
Step 7: Check the function of the installation
Your cistern is now installed in the ground and you are ready to utilise rainwater. Before you go into regular operation, the function of the system should be checked. The first step is to test whether the rainwater is flowing into the system properly. To do this, you can place a garden hose in the gutter to simulate a rain shower.
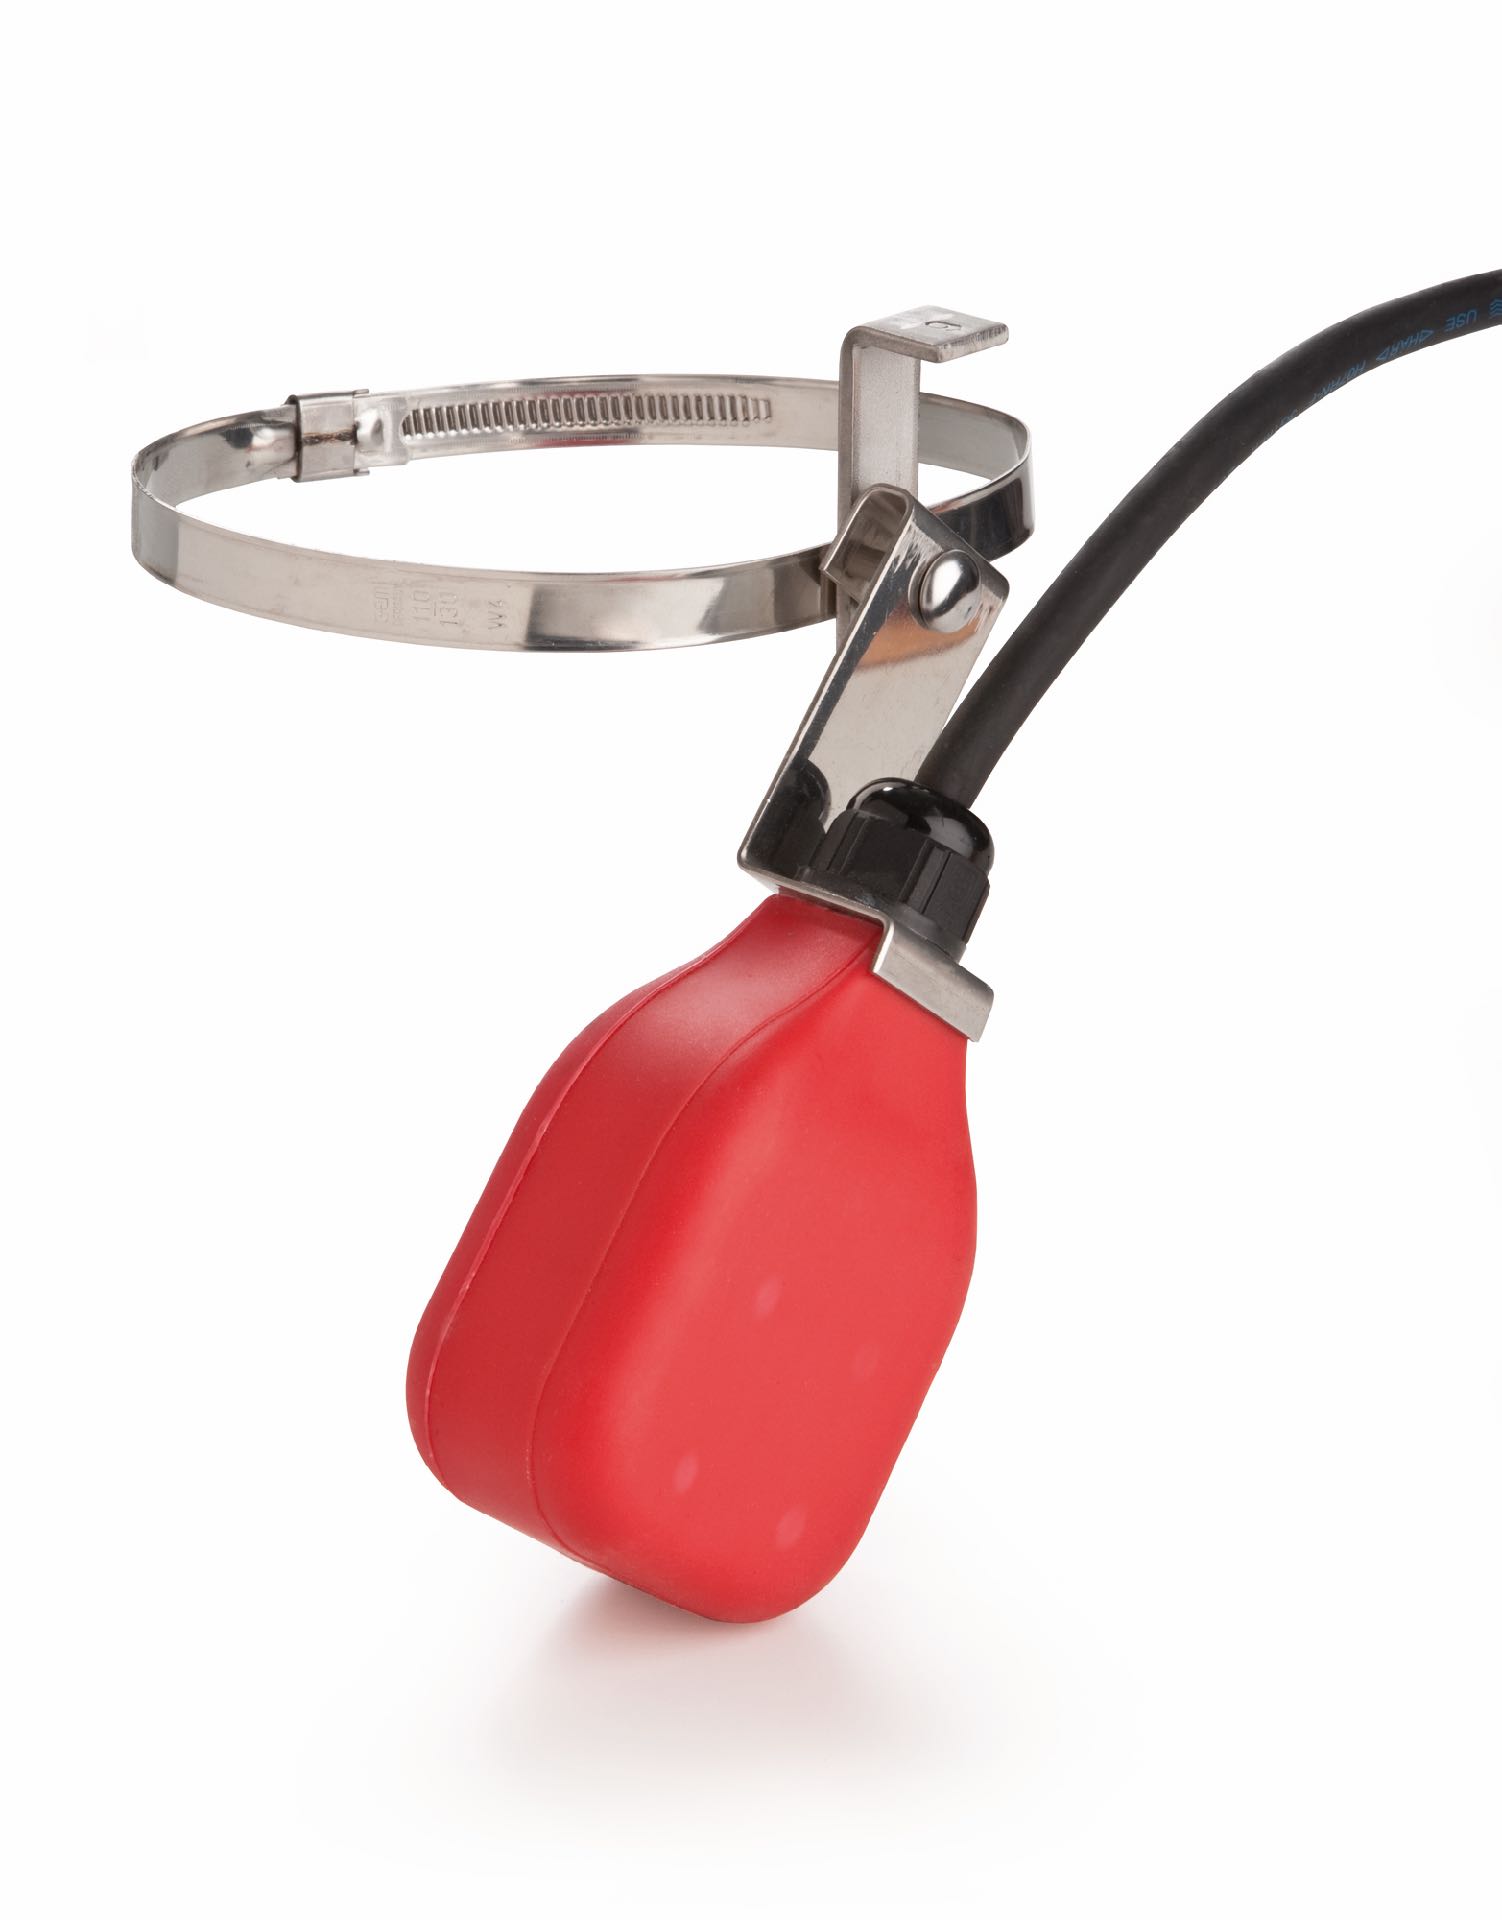
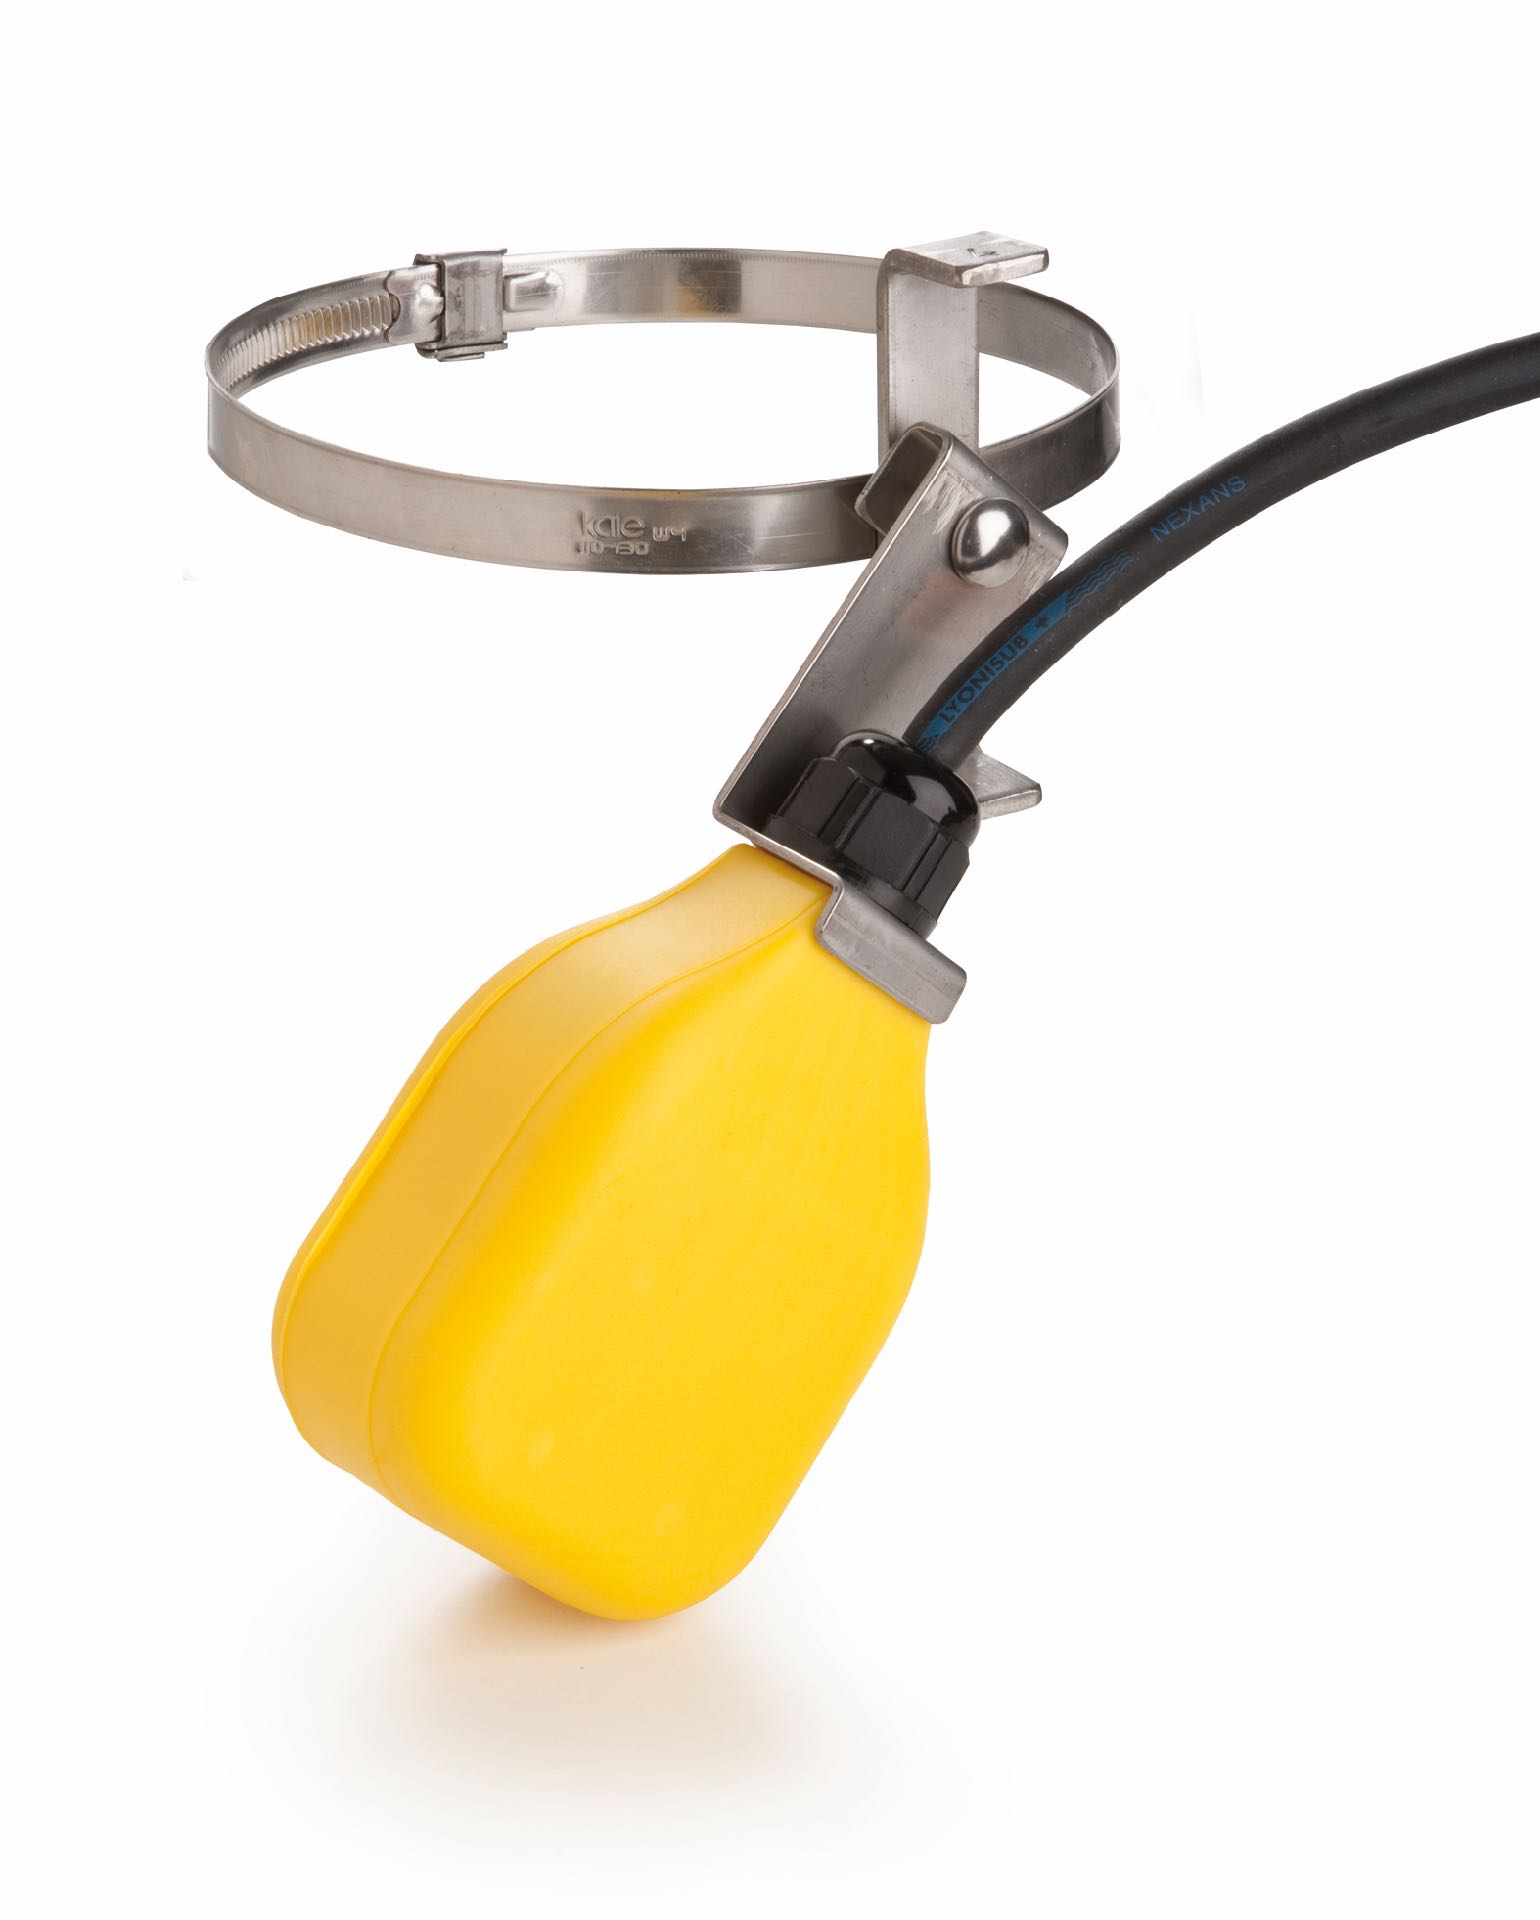
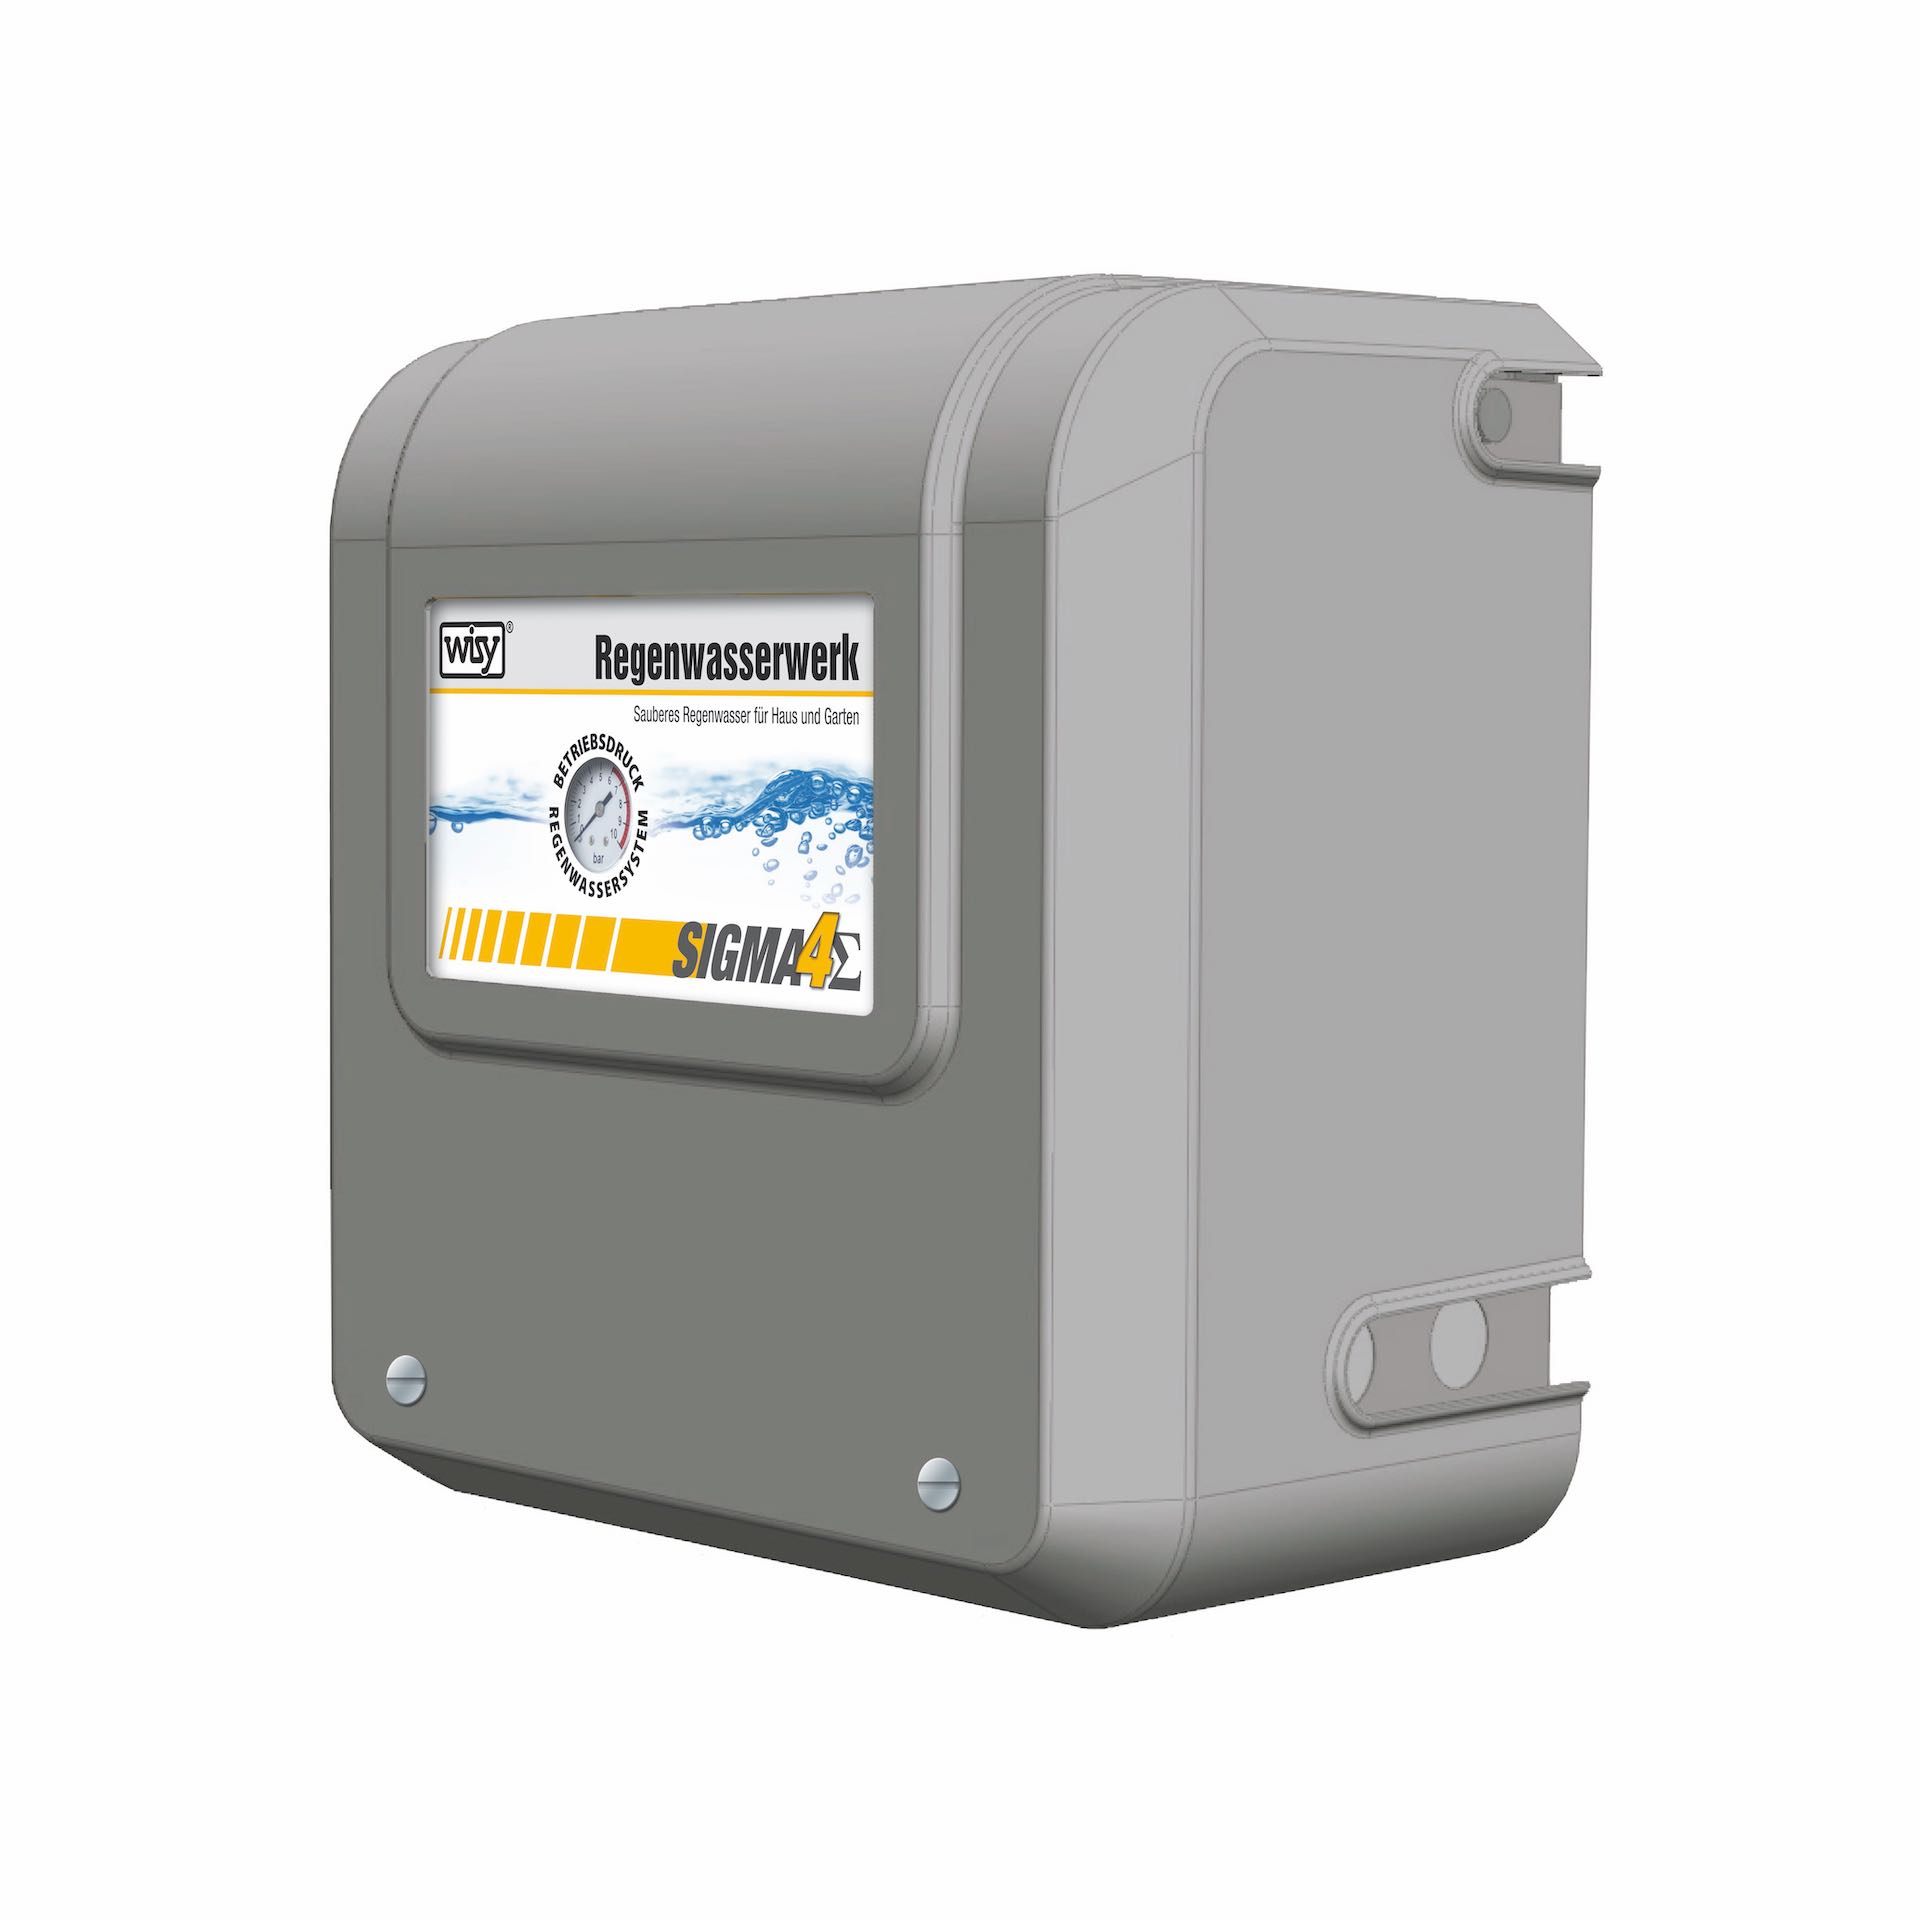
Now check that all components such as the rainwater filter, calmed inlet and overflow siphon are functioning correctly. Ensure that the rainwater drains through the channel as required at the maximum fill level . Do you have a float switch for dry-running protection or for make-up > on the pump or a rainwater unit installed to control the system, you should also test the full functionality of these components.
If everything works to your satisfaction, the cistern can be completely backfilled with gravel and covered with the soil layer .
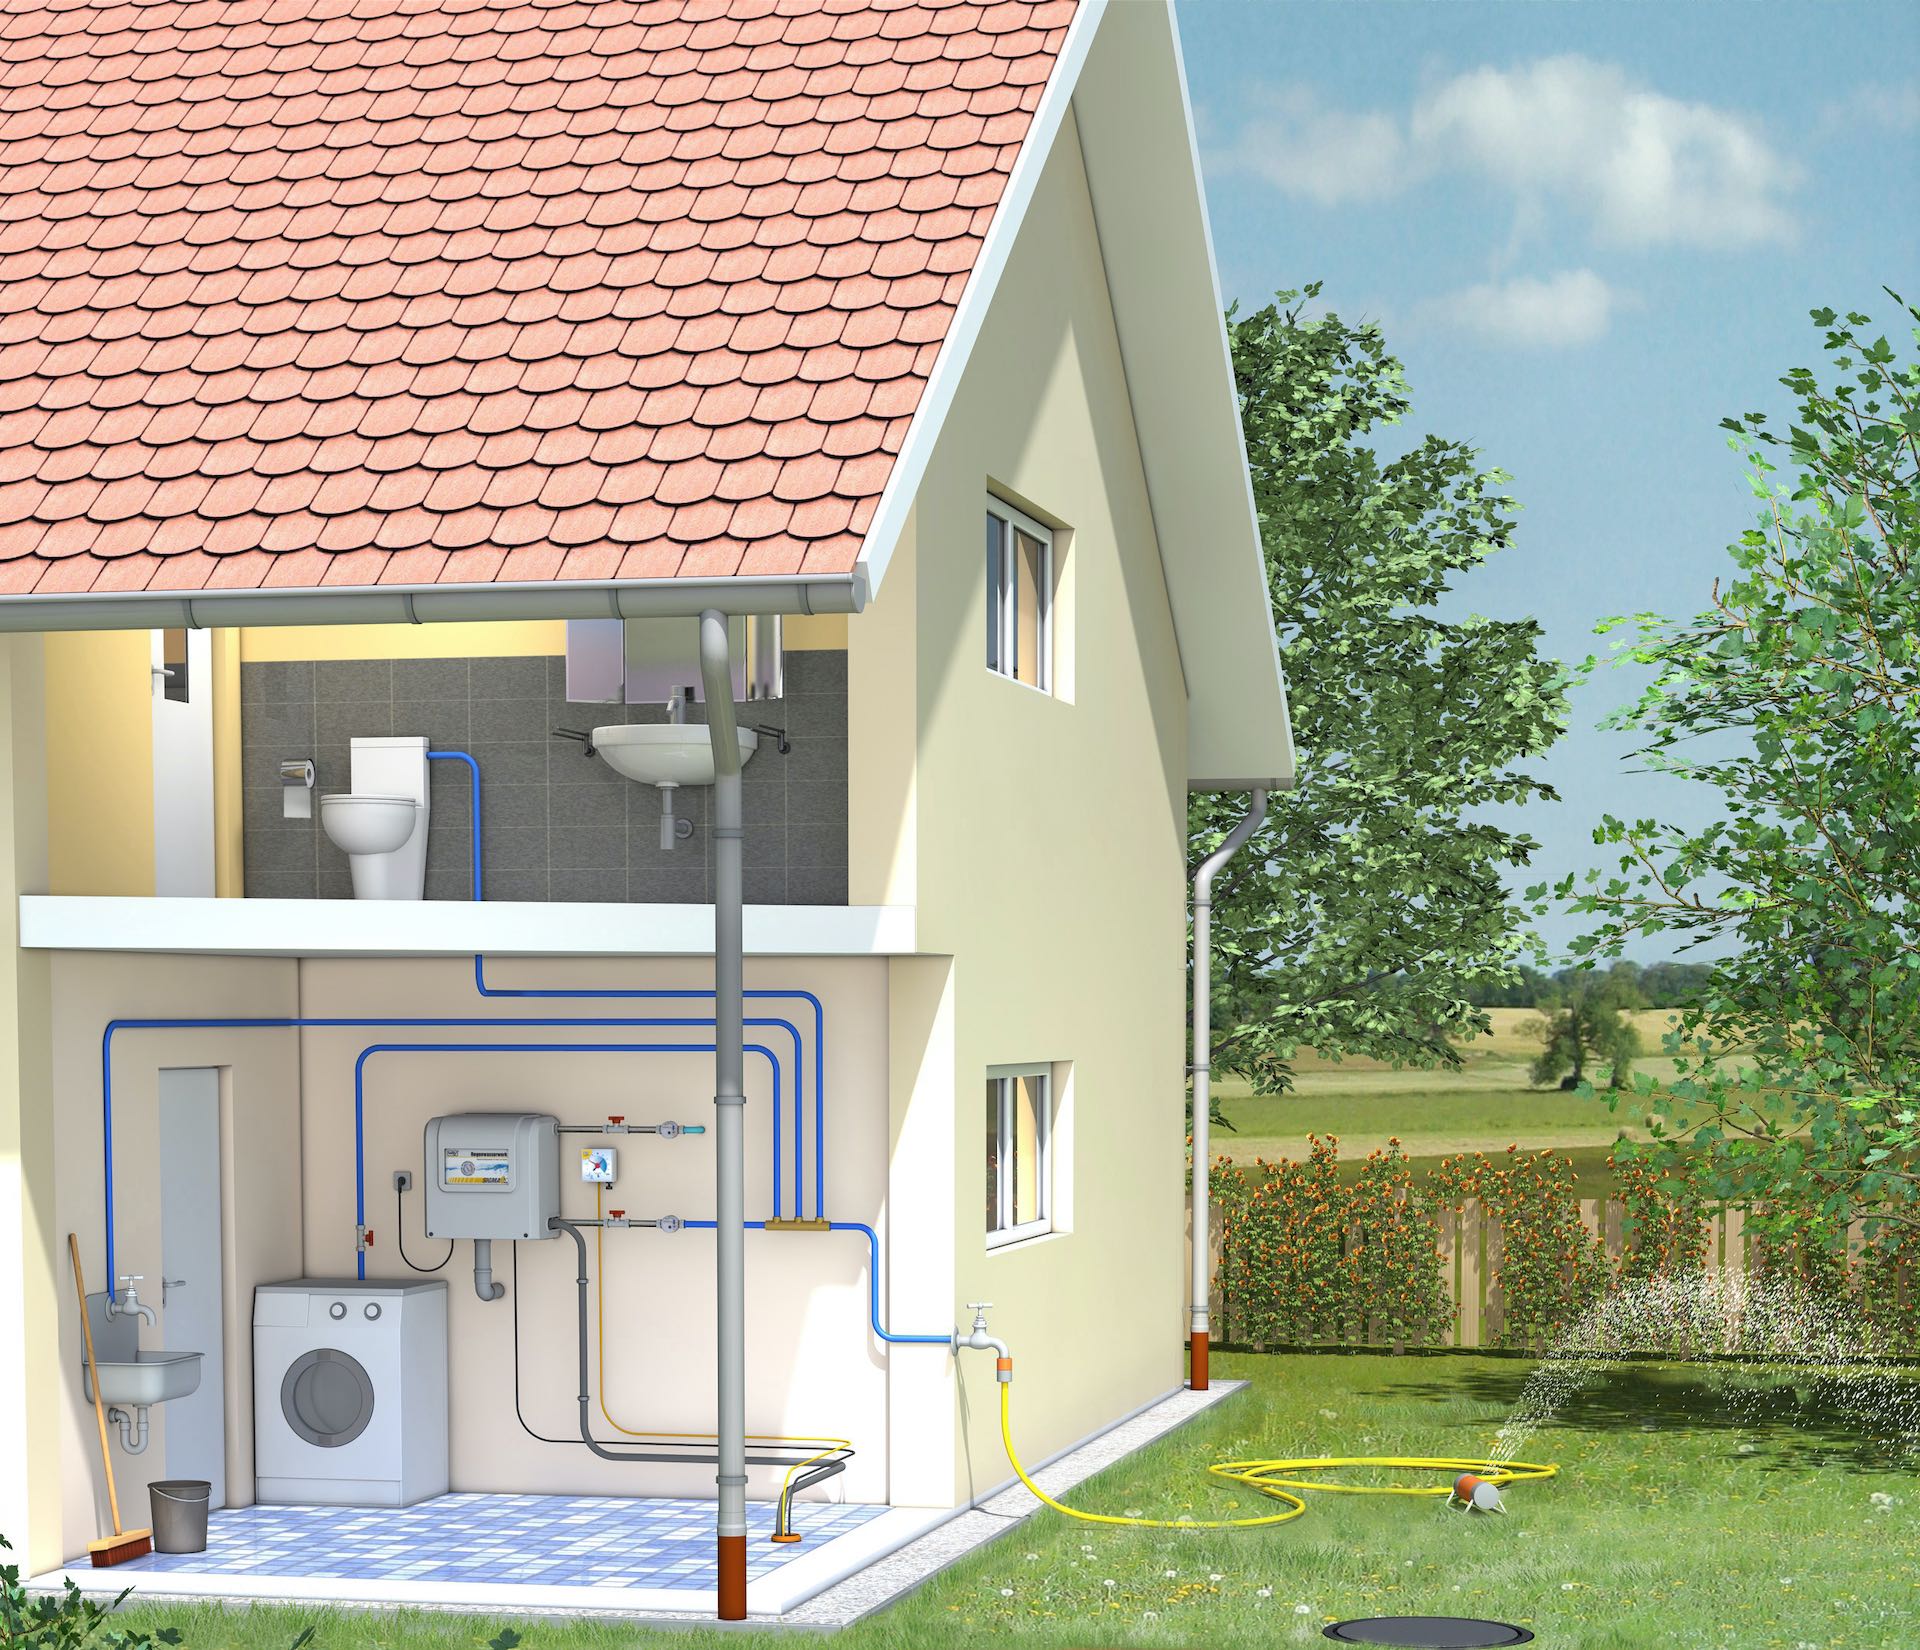
This completes the installation of your system. You can now switch to regular operation and use your rainwater for a wide range of applications. You can find out exactly what you can use your collected rainwater for here.
Have a cistern professionally installed
In order to have the cistern installed professionally and with little effort for you, you can also have the installation carried out by a civil engineering or gardening and landscaping company. Your plumber is then the right contact for the installation of the pump or rainwater unit.
But how much does it cost to have a cistern installed? This depends to a large extent on the dimensions and equipment of your system and cannot be answered in general terms. For example If you opt for a complete cistern set, this can avoid installation work within the cistern and possibly reduce costs. Furthermore, if the rainwater is only to be used in the garden and not in the household, the amount of installation work may be reduced somewhat - although you can also save significantly less drinking water.
Our tip: Simply contact your local specialist and ask about the costs of installing your cistern without obligation. They will not only help you with the planning, but also with the professional installation of your system so that you can enjoy using your rainwater in the long term.


